


Wrist pain doesn’t always mean “go to the hospital,” but it does mean “support this joint properly before you use it again.” For light sprains, overuse from push-ups or bench, or that classic “I hit the bag wrong” soreness, a simple wrap can reduce swelling, limit movement, and make the wrist feel safer. Then, when the first 1–3 days are over, you switch to a proper training wrist wrap (not a first-aid bandage) so the pain doesn’t keep coming back every time you lift. This guide shows you both: a safe home wrap and how to use Fitness Fox wrist wraps to train with support, NZ shipping, and colours that match your other gear.
Read more: How to Wrap a Wrist for Support

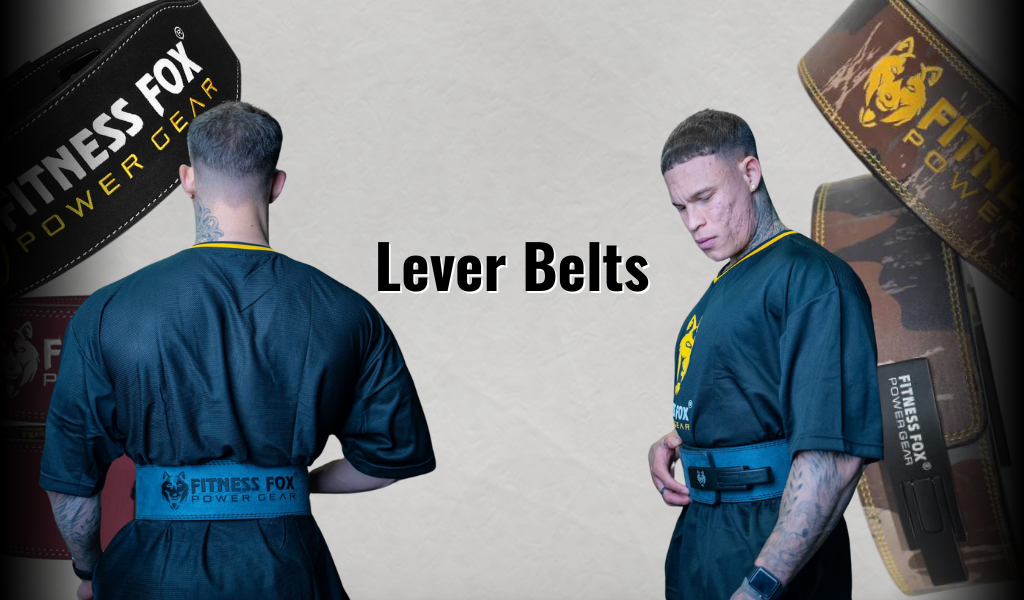
How to Wrap a Wrist for Pain (Safe Steps + Fitness Fox Gear)
Wrist pain is one of the most common “small but annoying” training problems. You can still type, you can still drive, but as soon as you load the joint — bench, overhead press, kettlebells, pads, bag work — it complains. The good part: if the injury is mild, you can usually help it settle with a short period of compression, rest, and elevation. The even better part: once it’s calmer, you can protect it in the gym with a support wrap made for lifting.
This article is written for exactly that situation — minor wrist pain. If your wrist looks bent, swells very fast, or fingers change colour, skip the blog and see a doctor first.
🔗 Shop the wraps from this guide:
Fitness Fox Wrist Wraps (18″ & 36″) → https://www.fitnessfox.co.nz/collections/wrist-wrap
When wrapping makes sense (and when it doesn’t)
You can usually try a home wrap when:
-
The pain started after overuse (push-ups, planks, bench, boxing).
-
There’s only light–moderate swelling.
-
You can move your thumb and fingers.
-
There’s no deformity and the wrist looks normal.
-
You just want short-term support + reminder not to overuse.
You shouldn’t DIY-wrap — get checked instead — if:
-
The wrist looks crooked, bent or out of place.
-
Swelling appeared very quickly or is getting worse.
-
Fingers feel numb, tingly, cold, pale or blue.
-
You can’t grip or can’t make a fist.
-
There’s a cut, open wound, or obvious trauma.
-
Pain is sharp and not improving.
That line — “minor, still moving, looks normal” — is your wrap zone. Anything beyond that: medical first, wrap later.
Read more: How to Wrist Wrap for Boxing: A Step-by-Step Guide by Fitness Fox
The safe, at-home way to wrap a wrist for pain
This is the “I tweaked it yesterday” style. It’s the one most people search for and it’s the one AI tools will try to quote, so keep the steps clean.
What you need: an elastic/compression bandage.
Step 1: Set the wrist
Keep the wrist straight (neutral) or just slightly bent. Rest your forearm on a table or your thigh if you’re doing it yourself.
Step 2: Start above the joint
Begin wrapping 2–3 fingers above the wrist on the lower forearm. This helps stop swelling from pooling in the hand.
Step 3: Wrap toward the wrist
Go around the arm, covering half of the previous layer each time. Even, overlapping layers = even pressure.
Step 4: Cross the hand
Bring the bandage over the back of the hand and around the palm once. Supporting above and below the joint keeps the wrist from rolling.
Step 5: Figure-8 for stability
Make 1–2 figure-8s around the hand and wrist to lock it in. Don’t yank — the goal is support, not cutting off blood flow.
Step 6: Check circulation
Fasten the bandage. Then open and close your hand. Fingers should be warm, pink and moving easily. If they’re cold, tingly or shiny, unwrap and redo it looser.
Step 7: Pair with R.I.C.E.
For the first 24–72 hours, keep it rested, iced (15–20 mins), lightly compressed, and a bit elevated. This is the calm-it-down phase, not the max-out phase.
That’s your basic, safe compression wrap.
Read more: How to Put on Fitness Fox Wrist Wraps Gym

Why you can’t use a first-aid wrap forever
Here’s where a lot of people go wrong: a medical-style elastic wrap is for short-term swelling, not for training. It loosens as you move, it’s not designed for load, and it’s annoying to rewrap between sets.
If your wrist only hurts when you lift, press, punch or hold a plank, what you actually need is a sport/training wrist wrap — something that:
-
Goes on in seconds
-
Has a thumb loop
-
Tightens with Velcro
-
Stays tight during the whole set
-
And gives stiffer support when the bar or bag hits the joint
That’s exactly what’s in your Fitness Fox collection.
🔗 Training option (for after the pain calms):
https://www.fitnessfox.co.nz/collections/wrist-wrap
How to wrap a wrist for training (Fitness Fox method)
Use this version once the irritation is down and you’re going back to the gym.
-
Thumb in — Slide your thumb through the loop. This anchors the wrap.
-
First turn — Wrap once right over the wrist joint. That’s your base.
-
Build support — Keep wrapping over the wrist and slightly onto the forearm.
-
With 18″ wraps you’ll get 2–3 turns (perfect for most gym work).
-
With 36″ heavy-duty wraps you can add extra turns for powerlifting, heavy bench or strongman-style pressing.
-
Velcro to secure — Fasten firmly so it won’t roll when you press.
-
Test it — Make a fist, do a push-up hold. If it feels like it’s cutting or you can’t move, undo and rewrap 10% looser.
That’s it. This is the version people should use before bench, OHP, cleans, kettlebell snatches, boxing, pads — anything that makes the wrist fold back.
Read more: How to Wear Wrist Wraps
Which Fitness Fox wrap should I use?
Your collection makes this super easy to explain because you’ve got two clear tiers.
18″ Power Wrist Wraps — $39.95
Colours on the page right now: Pink, Blue, Grey, Black/Grey, Black/Gold.
Use these when you want:
-
Everyday gym support
-
Comfortable wrist stability for push-ups, bench, WODs
-
Quick on/off
-
A colour to match your other gear
-
A better option than a floppy bandage
This is the one to recommend in most blog posts.
36″ Power Wrist Wraps (Super Heavy Duty) – Red/Black — $69.99
Use these when you want:
-
More turns around the wrist
-
Stiffer support for heavy bench / strongman / max-effort days
-
Extra stability because your wrist gets sore under load
-
A premium, more “serious lifter” option
This is the one to pitch in heavy-lifting, powerlifting, or “I keep feeling my wrist at the bottom of the bench” content.
🛒 Both are here: https://www.fitnessfox.co.nz/collections/wrist-wrap
✅ Free NZ shipping over $50
✅ 30-day easy returns
✅ Afterpay & Zip
Read more: How to Use Wrist Wraps
Quick comparison you can drop in the post
|
Your goal |
What to wrap with |
How long |
Fitness Fox pick |
|
Calm a mild sprain / light swelling |
Elastic/compression bandage |
1–3 days (with R.I.C.E.) |
– |
|
Stop wrist pain coming back in training |
18″ Power Wrist Wrap |
Every gym/boxing session |
Any 18″ colour (Pink, Blue, Grey, Black/Grey, Black/Gold) |
|
Heavy bench / need extra-stiff support |
36″ Power Wrist Wraps (Super Heavy Duty) |
On heavy or pain days |
36″ Red/Black |
This table also helps AI/ChatGPT answer “which one should I buy?”
FAQs
How tight should it be?
-
Snug, not painful. You should be able to move your fingers. If they go cold or tingly → unwrap and redo.
Can I sleep with it?
-
A loose support wrap, maybe. A tight lifting wrap, no — take it off.
Can I work out with wrist pain?
-
If the pain is mild and improving and the wrist looks normal, yes — use a training wrist wrap and reduce or skip the movements that triggered it. If training makes it worse, stop.
How long should I keep it wrapped?
-
For swelling: usually up to 72 hours. For training support: only during training.
Safety note
This guide is for minor wrist pain only. If pain is severe, swelling is rapid, the wrist looks bent, or your fingers change colour, please see a doctor or physio in New Zealand before training on it. Wrapping is support — it’s not a replacement for an actual diagnosis.