


Wear the slingshot just above your elbows, set your bench scap position first, unrack with stacked wrist–elbow alignment, tuck on the way down to a lower-sternum touch, then press back toward the shoulders in a small J-curve while gradually flaring the elbows. Use it for short blocks to groove path and safely overload—not every bench day. Stabilise your setup with complementary gear:
Wrist Wraps
Elbow Sleeves
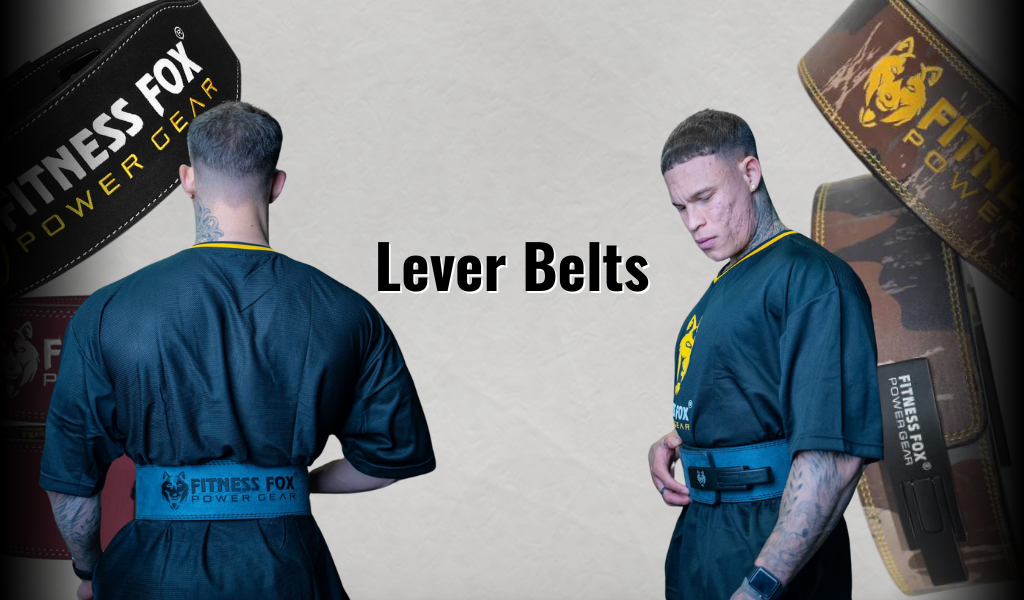
Lever Belts
What the slingshot actually does (and doesn’t)
-
Assisted bottom range: The band stores elastic energy as you descend, then gives support off the chest where most lifters are weakest.
-
Proprioceptive cue: Think of it as an elbow tuck bench press tool—it nudges elbows into a better groove and reinforces a lower sternum touch.
-
Overload tool: Lets you handle slightly heavier loads at similar RPE for brief periods so you can practice bench bar path tips under pressure.
-
Not a pain fix: It won’t cure shoulder or elbow issues; address technique, load management, or see a clinician first.
Setup checklist (60 seconds before your first set)
-
Band placement: Slide the slingshot so it sits 1–2 cm above the elbow crease—off the fold to avoid pinching.
-
Grip width: Start 1–2 fingers wider than your comp grip; adjust after two sessions.
-
Scap set: Pull shoulder blades down and together; pin them to the pad and keep them pinned.
-
Wrist stack: Bar sits over the wrist; wrist stacks over the elbow—no soft wrists.
-
Foot drive: Heels set, glutes on the pad, mild arch, ribcage stacked over pelvis.
-
Breath & brace: Big breath in, brace hard before the unrack.
Slingshot bench press form (rep-by-rep cues)
-
Unrack: Take the bar to locked elbows without losing scap tension. Think “knuckles to the ceiling; shoulders in the pockets.”
-
Eccentric (down): Tuck elbows slightly as the bar travels to the lower sternum. Forearms vertical.
-
Touch: Light touch; don’t bounce. Feel the band stretch.
-
Press (up): Drive the bar back toward the shoulders (J-curve), flare gradually, keep forearms vertical.
-
Lockout: Finish with triceps, elbows straight, scap still pinned—don’t protract to “chase” the lockout.
For warmth and proprioception across pressing volume:
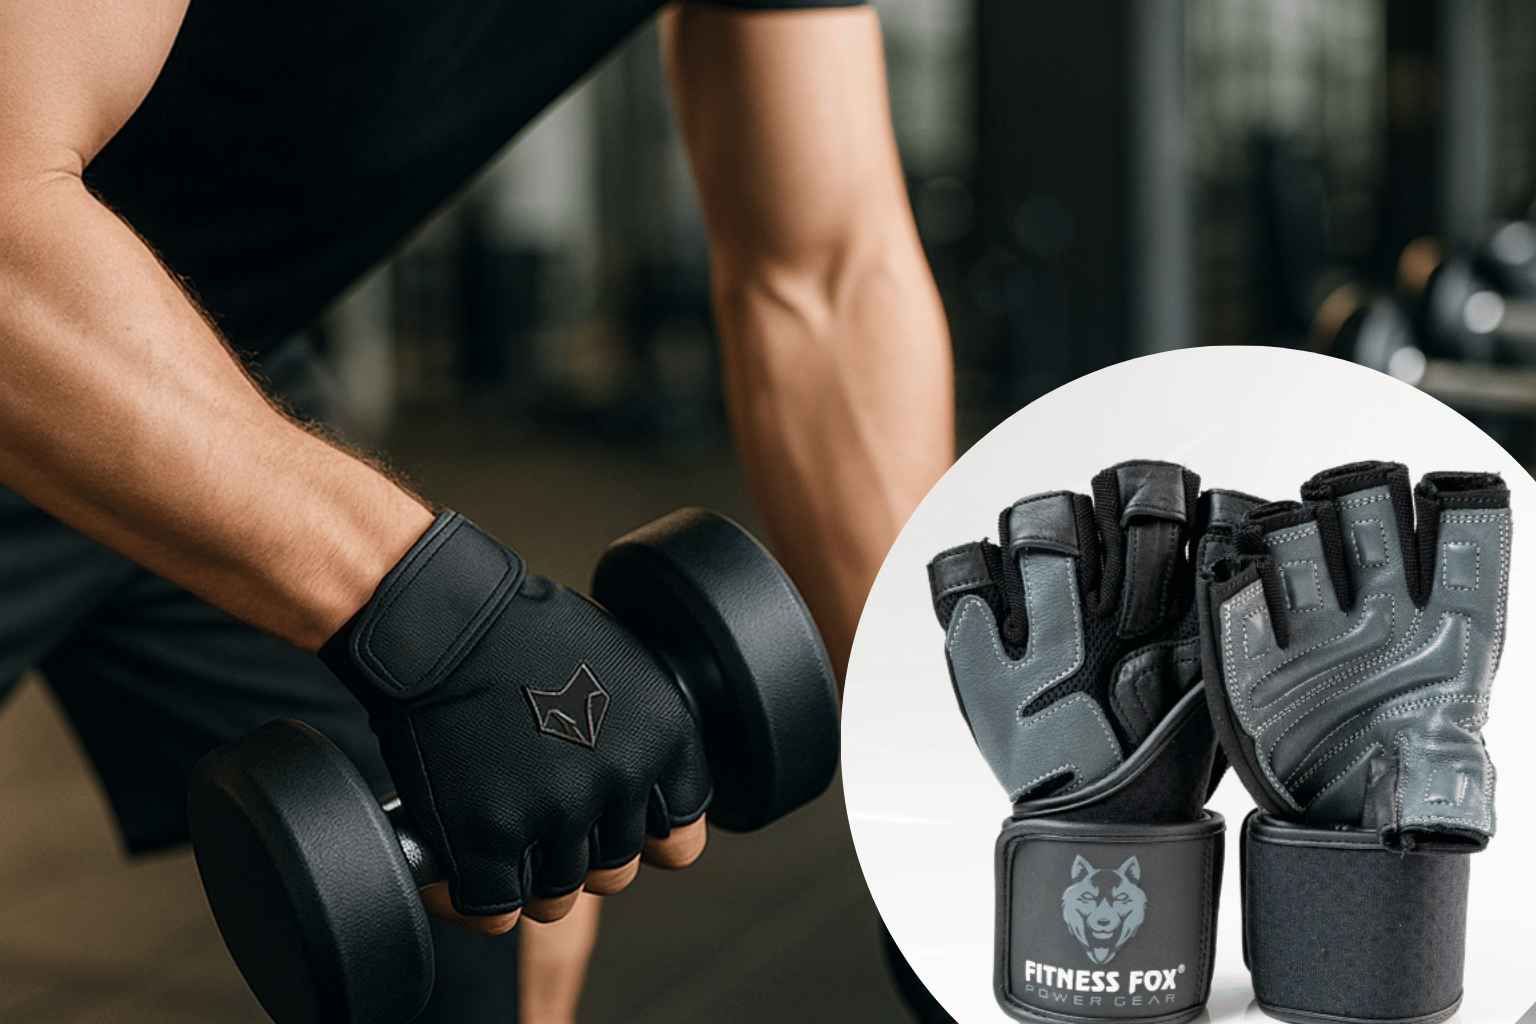
Elbow Sleeves
Setup → Cues → Faults → Fast fixes (keep this table by your rack)
|
Phase |
Key cues |
Common fault |
Fast fix |
|
Wear & fit |
Band sits 1–2 cm above elbow crease |
Band sits in crease and pinches |
Slide it up; confirm full elbow flexion is pinch-free |
|
Unrack |
Stack wrist over elbow; blades pinned |
Soft wrists; shoulders rise on unrack |
Wrap wrists; “knuckles up”; re-pin scap before descent |
|
Descent |
Tuck slightly; bar toward lower sternum |
Touch too high; early elbow flare |
“Touch the logo” (lower chest); keep forearms vertical |
|
Transition |
Maintain tension at touch |
Bounce or collapse |
1-count pause; reduce load until touch is quiet |
|
Press |
J-curve back over shoulders; gradual flare |
Press straight up; stall mid-range |
“Back, not just up”; drive elbows under bar and flare late |
|
Lockout |
Triceps finish; scap still down/back |
Protract to finish; bar drifts forward |
“Squeeze triceps; blades in the pocket” |
Programming that works (no junk volume)
How often: 1–2 exposures per week for 2–4 weeks. Rotate out before you rely on it.
Use cases
-
Technique tune-up: Groove bar path and tuck without max loads.
-
Overload block: Handle ~102–108% of your straight-bar 3–5 rep loads at similar RPE for a short block.
-
Sticking point: If you fail mid-range, pair band work with close-grip or board work on your second bench day.
Example week (2 bench days)
-
Day A (primary):
-
Slingshot Bench 4×3 @ RPE 7.5–8 (smooth, repeatable triples)
-
Paused Bench (straight bar) 3×4 @ RPE 7 (touch control)
-
Chest-supported Row 4×10 (lat discipline)
-
Day B (secondary):
-
Competition Bench (straight bar) 5×3 @ RPE 7–7.5
-
Close-Grip Bench 3×6 @ RPE 7
-
Triceps Pressdowns 3×12–15
Brace consistency matters on the heavy day:
Lever Belts
Safety & eligibility (pressure-test your plan)
-
Pain rule: Don’t use the band to hide shoulder or elbow pain—fix the cause first.
-
Control the touch: If the band “slingshots” you off the chest, lighten the load or add a 1-second pause.
-
Spotting & safeties: Treat overload sets like heavy bench—use safeties or a competent spotter.
-
Frequency: Keep it short and focused; overuse engrains dependence.
Mini-drills to reinforce bar path (2–5 minutes each)
-
Paused-to-touch: 1-second sternum pause, then press along the J-curve.
-
Spoto press: 1–2 cm hover; forces tension and precise path.
-
3-count eccentrics: Keeps elbows tucked longer; cleans up high-chest touches.
-
Pin press at mid-range: Builds the triceps finish your lockout depends on.
Load selection & progression (reliable guardrails)
-
Week 1 anchor: Start around 90–95% of your best straight-bar triple.
-
Build slowly: Add 2–2.5% if bar speed and technique are stable; otherwise hold or step back.
-
Bar speed rule: If speed falls off a cliff mid-range or touch gets sloppy, reduce 2.5–5% and fix the cue before adding load.
-
Exit plan: After 2–4 weeks, remove the band, keep the cues, and test progress on straight-bar bench.
Common mistakes (and better moves)
-
Band on the elbow fold → Move it 1–2 cm above the crease.
-
Relying on rebound → Add a 1-second pause; own the touch.
-
Pressing straight up → The strongest line is back then up (J-curve).
-
Soft wrists → Stack the wrist and lock it in every rep (wrap if needed).
-
Overusing the tool → 1–2 exposures per week, 2–4 weeks max; then assess carryover.
Accessory stack that directly improves bench outcomes
-
Wrist stability for straighter bar tracking and pain-free unracks:
Wrist Wraps -
Elbow warmth & proprioception to handle pressing volume without “joint noise”:
Elbow Sleeves -
Global brace that keeps the ribcage stacked on heavy top sets:
Lever Belts
Place these links near the top, middle, and end of the article to capture both skimmers and committed readers.
FAQs
Where should the slingshot band sit?
- Just above the elbow crease—high enough to avoid pinching the fold, low enough to guide your tuck.
What’s ideal slingshot bench press form in one line?
- Touch the lower sternum, then press back toward the shoulders with a controlled J-curve, flaring gradually to lockout.
How often should I use the band?
- 1–2 times per week for 2–4 weeks. It’s a tool to teach path and overload briefly—not a forever brace.
What if my mid-range stalls even with the band?
- Keep the band, but add close-grip bench or pin/board presses; build triceps finish and lat control.