


Use a rotary punch (or a hollow/drive punch + mallet) on a poly cutting board over a solid surface. Mark the centerline first, size the punch slightly larger than the buckle prong, keep the punch perfectly perpendicular, strike once, and finish with a light edge burnish/condition. For powerlifting lever belts, don’t make new holes—just reposition the lever mechanism or choose the right size.
Read more: How Do Lever Belts Work? (Fitness Fox Guide)
Why precision matters
Leather is a dense, fibrous material. A hole that’s off-center, too close to the edge, or cut with a dull tool can stretch, tear, or look uneven. Clean, perpendicular cuts keep fibers intact so the belt lasts longer and looks better.
Rules of thumb
-
Hole spacing: ~25 mm / 1 in between holes for most fashion/casual belts.
-
Edge distance: keep the hole’s edge at least 12–15 mm (~½ in) from the belt’s outer edge.
-
Hole size: choose a punch just larger than the prong (you want secure fastening without forcing).
-
Safety: eye protection on, fingers well away, stable work surface. No heat tricks—heat dries and weakens leather fibers.

Tools you’ll need
-
Primary tools:
-
Rotary leather punch (fast, multiple sizes on one wheel) or
-
Hollow/drive punch set (individual tubes) + wood/rubber mallet
-
Measuring & marking: ruler/tape, soft pencil or scratch awl, simple center-finding guide (or mark the centerline by measuring the strap width and halving it)
-
Backing & surface: poly cutting board (or dense end-grain) over something heavy and solid; avoid punching directly on stone/glass
-
Finishing: light sandpaper (600–1,000 grit) or edge beveler, beeswax/conditioner, clean cloth
-
Optional (backup method): drill with sharp bit, two scrap boards, clamps
Read more: how to clean leather belt
Leather Belt Hole Punching — Method Comparison & Setup Cheat Sheet
|
Scenario / Step |
Rotary Punch |
Hollow/Drive Punch + Mallet |
Drill (Backup Only) |
Pro Tips |
|
Best use case |
Everyday leather belts; quick size tweaks |
Thicker/firm leathers; ultra-clean cuts |
When you don’t own punches |
Test on scrap first to confirm size/cleanliness |
|
Setup surface |
Poly board on heavy table |
Poly board + heavy slab beneath |
Belt clamped between two scrap boards |
Stability prevents oval/tear |
|
Sizing |
Spin to a tube just larger than prong |
Choose matching tube; inspect edge sharpness |
Match bit to prong; err slightly larger |
Dull tools fuzz edges—sharpen/strop |
|
Marking |
Centerline + dot at target |
Same |
Same |
Use a light pencil or awl to keep marks tiny |
|
Execution |
Align square; squeeze decisively; twist to clear plug |
Hold perfectly upright; 1–2 clean mallet strikes |
Slow drill; let the bit cut, don’t force |
Keep everything perpendicular |
|
Cut quality |
Very good on most leathers |
Excellent on thick/firm belts |
Fair; edges can fuzz |
Finish with light burnish and conditioner |
|
Risk |
Low |
Low–moderate (miss-hits) |
Higher (wandering bit/tear) |
Eye protection always |
|
Speed |
Fastest |
Fast |
Moderate |
Only if no punch is available |
|
When to avoid |
Very thick exotics |
Very soft spongy leather |
Most of the time |
Choose the right tool for longevity |
Step-by-step: the cleanest way to punch a hole
1) Measure, center, and mark
-
Find the centerline. Measure belt width; halve it. Lightly draw a line or score with an awl.
-
Place the dot. Wear the belt and mark the ideal prong position, or measure from an existing hole (keep the 1 in / 25 mm spacing).
-
Check edge distance. Ensure the hole’s edge will sit ≥12–15 mm from the belt’s outer edge.
2) Prepare the surface
-
Lay a poly cutting board on a heavy, stable table.
-
If you have a dense slab (wood/block), place it under the board to deaden bounce.
3) Choose the hole size
-
Pick a punch slightly larger than the buckle prong diameter.
-
If unsure, start smaller—test fit—and increase one size if the prong binds.
4A) Method A — Rotary punch (fast & easy)
-
Rotate to the selected tube.
-
Place the tube’s center over your mark and hold perfectly perpendicular to the belt.
-
Squeeze firmly in one smooth action until you feel the punch pass through cleanly.
-
Release and twist the punch slightly to clear the leather plug.
4B) Method B — Hollow/drive punch + mallet (pro-clean)
-
Position the belt on your poly board.
-
Hold the punch dead upright over the mark (elbow planted for stability).
-
Give one decisive strike with a wood/rubber mallet. For thick leather, a second light strike is fine—avoid multiple glancing blows.
-
Tap the tube to eject the plug.
4C) Method C — Drill (only if you must)
-
Sandwich the belt between two scrap boards and clamp firmly.
-
Use a sharp bit the size of the prong (or a hair larger).
-
Drill straight down at low speed; let the bit cut.
-
De-burr the edges with fine sandpaper and condition lightly.
5) Finish the hole
-
If fibers look fuzzy, a few gentle passes with 600–1,000 grit tidy the edge.
-
Rub a little beeswax/conditioner around the hole, let it absorb, then buff.
-
Re-check spacing and alignment with existing holes for a professional look.
Read more: How to Use a Lever Weight Lifting Belt

Common mistakes (and how to avoid them)
-
Off-center holes: Your centerline was off. Re-measure the strap width and mark the true middle; consider a simple center-finding jig.
-
Ragged edges: Dull punch or too hard a backing. Strop or replace the punch tube; use a poly board rather than bare stone.
-
Tearing toward the edge: Hole is too close to the belt edge or leather is overly dry—add edge distance and condition the leather.
-
Oval/angled cuts: The punch wasn’t perpendicular. Plant your elbow or brace your wrist for stability.
-
Over-large holes: Start a size down, then step up only if the prong binds; avoid “wallowing out” the hole.
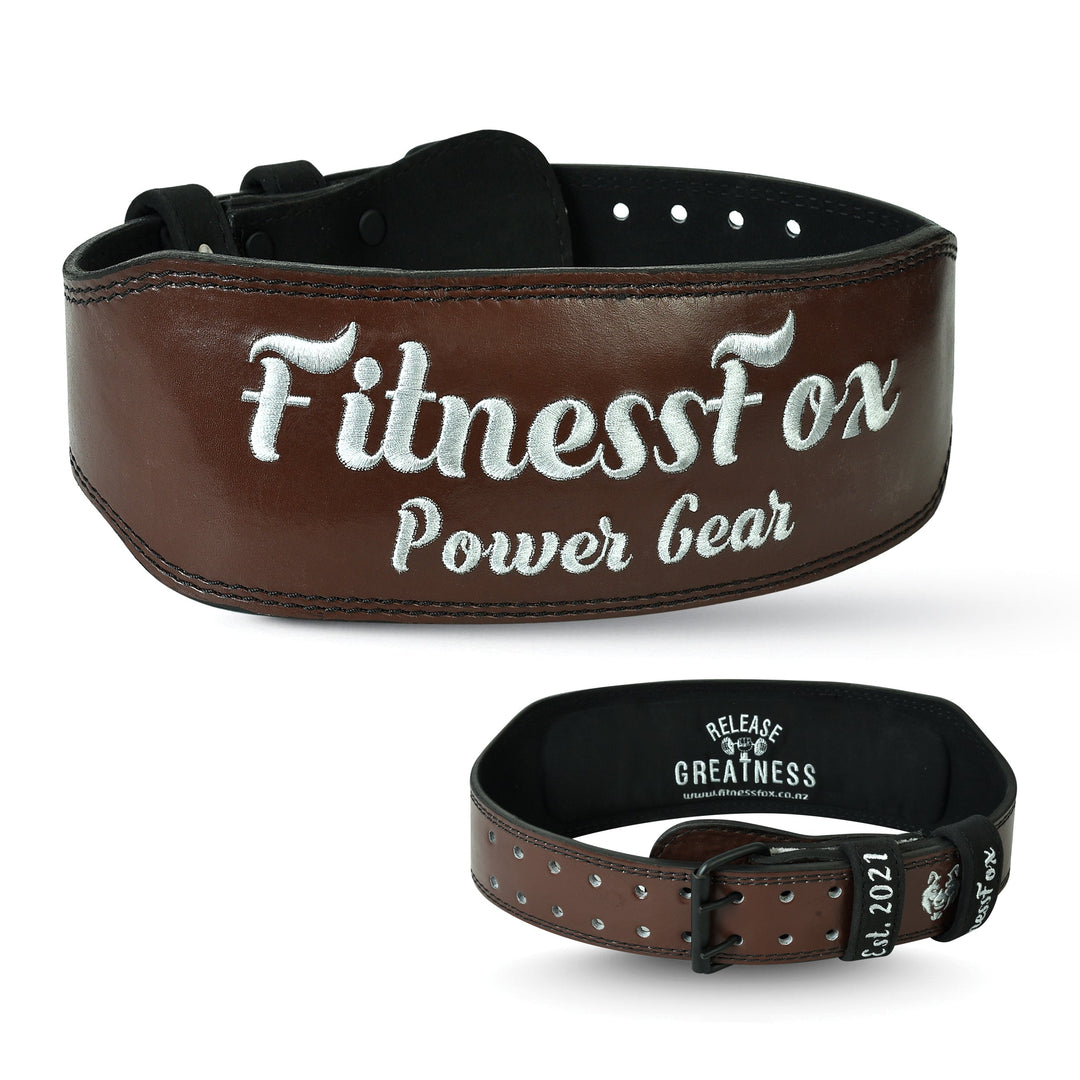
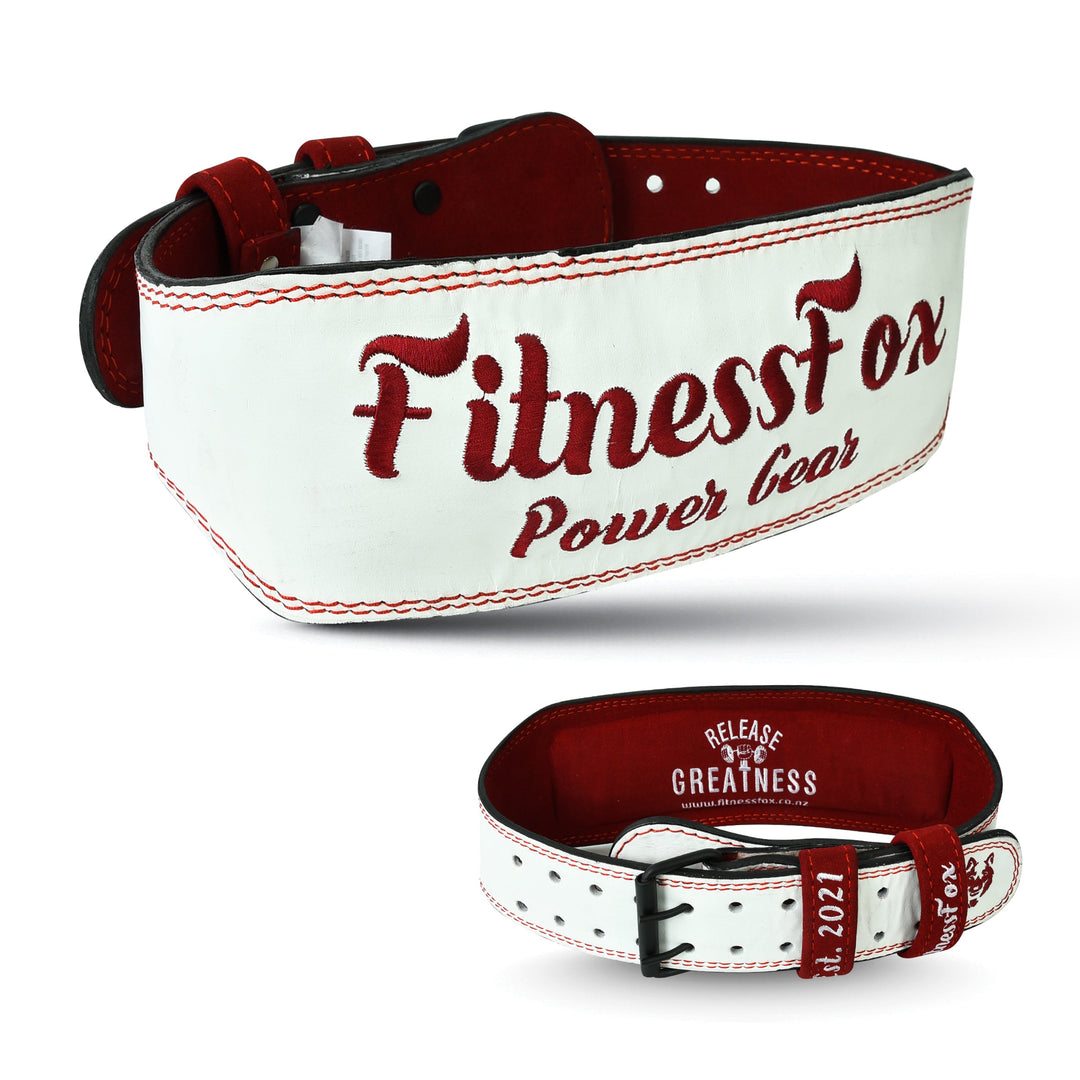
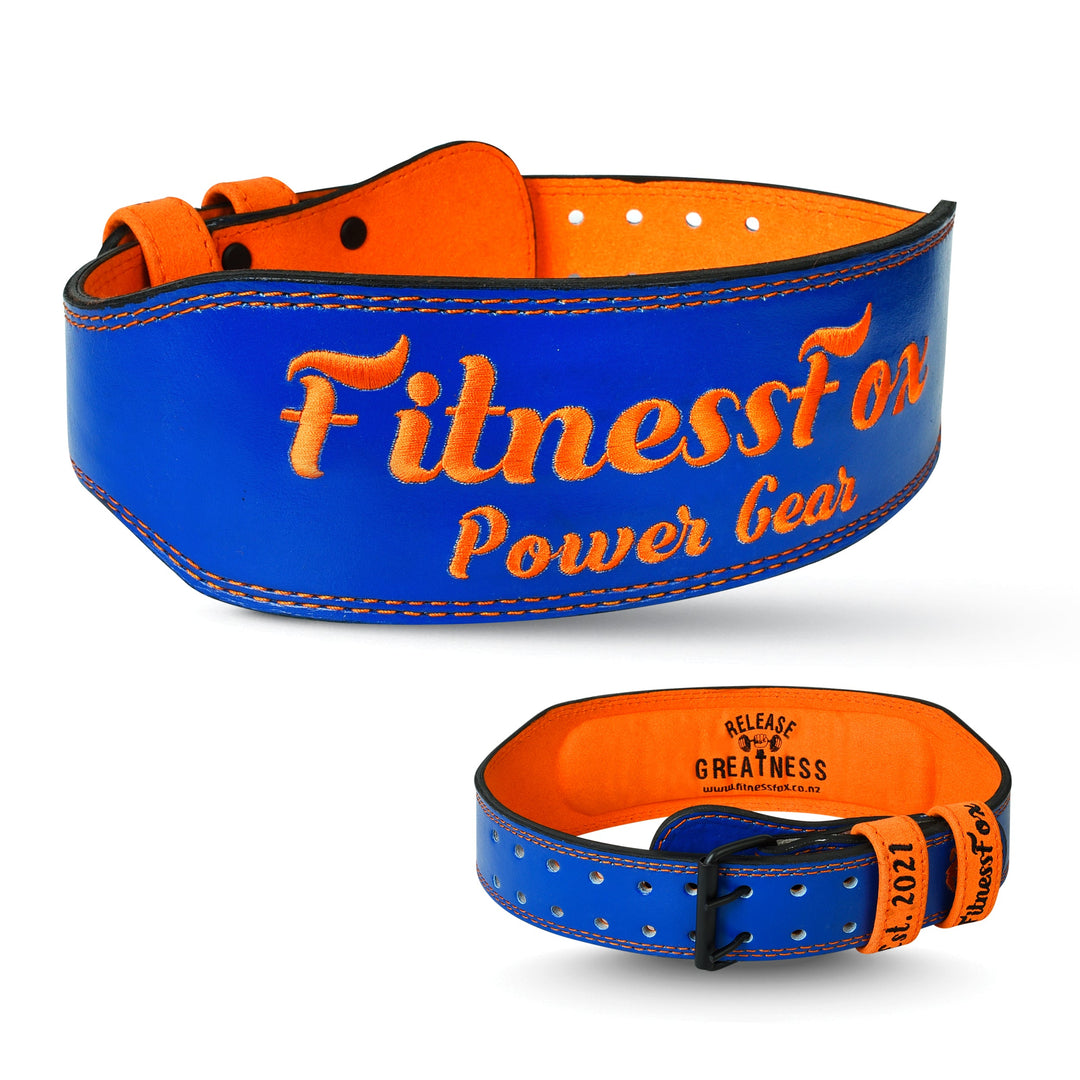
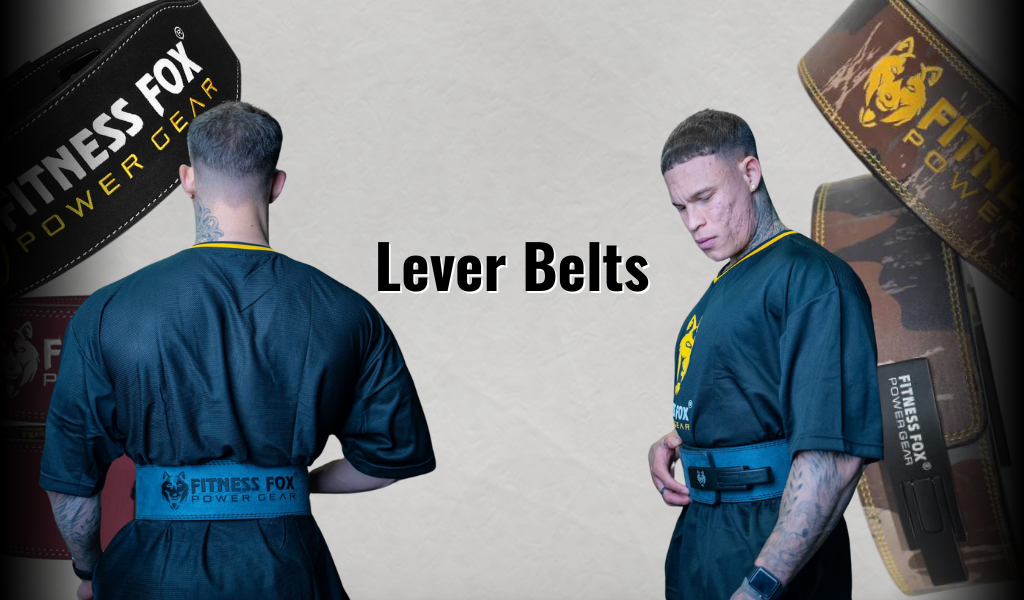
When not to punch: powerlifting lever belts
If you’re working with a powerlifting lever belt (like our Fitness Fox 10 mm and 13 mm models), don’t add holes. Lever belts are designed to deliver uniform stiffness and core bracing; adding holes can compromise structure and void warranties. Instead:
-
Reposition the lever: Use a screwdriver to move the lever to a different set of factory holes inside the belt.
-
Pick the right size: If your waist fluctuates between off-season and meet prep, choose the size with overlap in both ranges (XS–4XL options).
-
Dial thickness to goal:
-
10 mm: more forgiving, great for high-volume training and mixed lifts
-
13 mm: maximal stiffness for heavy singles and competition specificity
Brand note: If you’re fighting your current buckle belt every session, consider upgrading to a Fitness Fox Lever Belt—fast set-and-forget tightness, suede or leather finishes, and sizes from XS to 4XL.
Mini sizing guide: hole placement & spacing
-
Where should the “most used” hole be? Ideally, the center hole of your belt’s set, so you have room to tighten or loosen.
-
How many holes total? 5–7 is common on fashion belts; weight belts vary by design.
-
Spacing standard: ~25 mm / 1 in keeps a consistent look and fit increments.
-
Edge clearance: keep ≥12–15 mm to preserve strength.
Care & longevity after punching
-
Wipe away debris and condition the surrounding leather lightly.
-
Avoid saturating the hole with oils; a small amount of conditioner/wax is enough.
-
Let it rest a few hours before heavy use so fibers settle.
-
Store the belt flat or hanging; don’t crush the new hole with sustained pressure when not worn.
FAQs
Can I use a nail and a lighter to make a hole?
-
Please don’t. Heat dries and weakens leather fibers and seldom leaves a clean, round hole. A basic rotary or drive punch is inexpensive and safer.
What punch size should I use?
-
Measure the prong diameter and choose a punch just larger (e.g., 4 mm prong → 4.5 mm punch). If you’re unsure, test on scrap or an inconspicuous area.
Will a drill ruin my belt?
-
Not necessarily, but it’s more likely to leave fuzzy edges or a slightly oval hole if the bit wanders. Clamp between boards, drill slowly, and finish the edges.
How do I fix a hole that’s slightly off?
-
If the misalignment is minor, leave it—trying to merge holes makes things worse. Otherwise, punch a new, correct hole and hide the old one toward the buckle side if possible.
What’s different about punching thick weight belts?
-
They’re firmer and layered. A sharp drive punch + mallet usually yields a cleaner cut than a light-duty rotary punch.
Do lever belts ever need extra holes?
-
No. Lever belts use a repositionable mechanism—move the lever or select the correct belt size. No extra holes required.
-
Weight Lifting Lever Belts (10 mm & 13 mm) — primary CTA inside the “Don’t punch lever belts” section
-
How to Adjust a Lever Belt — short tutorial (2–3 steps with images)
-
Belt Size Guide — waist measurement tips, overlap chart for XS–4XL
-
Nylon Belts / Lifting Straps / Knee Sleeves — contextual cross-links at the end
Closing: choose the right method for a clean, strong hole
Punching a new hole in a leather belt is simple if you respect three fundamentals: accurate marking, sharp tools on the right surface, and perpendicular pressure. Finish the edges, condition lightly, and you’ll have a clean, durable hole that blends in with the originals. And if your “belt problem” is really about quick, repeatable tightness for training, skip the DIY holes—upgrade to a Fitness Fox lever belt and focus your energy on the lift.