A lifting belt doesn’t lift for you. Its real job is to amplify a good brace. When you inhale “down and around” (belly, sides, and lower back) and press your trunk into the belt, you create IAP—a supportive internal “air column” that helps your spine stay neutral as the load rises. The result: better force transfer, more confidence under the bar, and often better performance on your heaviest work.
Why nylon? Compard with very stiff leather lever belts, nylon belts are more comfortable, lighter, and faster to adjust—perfect for mixed training (strength work + conditioning or WODs), smaller lifters, or anyone who values mobility and quick on/off between stations. If your sessions swing from squats to box jumps to pulls, nylon’s flexibility shines.
Read more: how to clean leather belt

Fit first: sizing and setup that actually works
Getting the belt right starts before you touch a bar.
-
Measure at your navel. Use a flexible tape around your midsection relaxed (don’t suck in).
-
Choose the right size range. A good nylon belt should give you several inches of adjustability for daily fluctuations, clothing layers, and bloat.
-
Initial height: start with the belt centered on your navel. We’ll fine-tune by lift in a moment.
-
Snug, not suffocating. You should feel firm resistance when you breathe and push out, but you must still be able to expand your trunk.
Fitness Fox tip: If your belt has a quick-locking or hook-and-loop closure, pre-set a “warm-up notch” and a “heavy-set notch” so you can switch quickly as intensity rises.
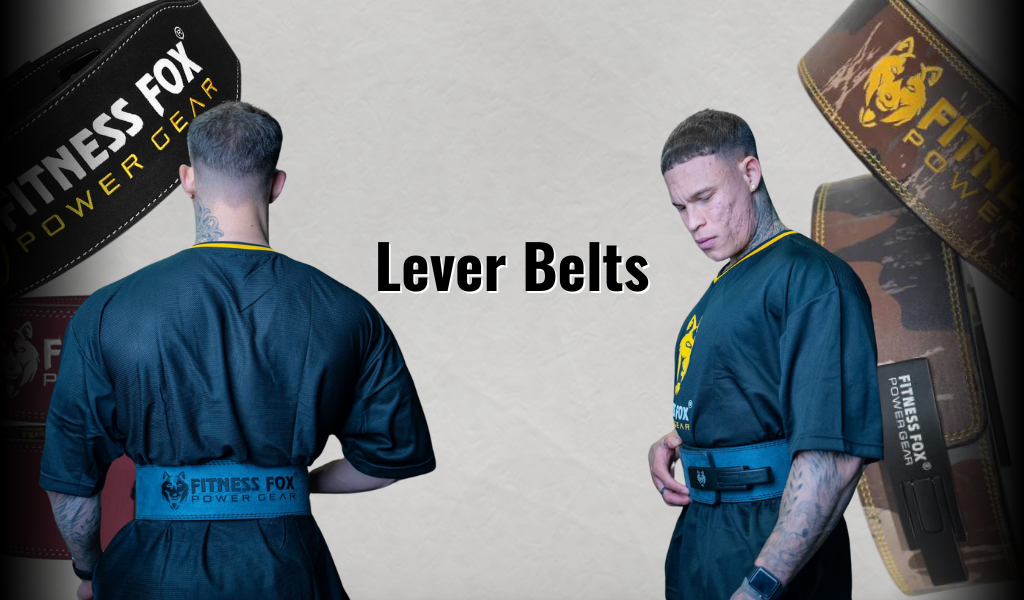
Read more: How Do Lever Belts Work? (Fitness Fox Guide)
Step-by-step: how to use a quick-locking nylon belt
-
Pre-tighten for the day. Put on the belt at your warm-up tightness (slightly looser than heavy-set tightness).
-
Set position. Center the buckle near the navel; ensure the belt makes even contact around your torso.
-
Breathe low. Take a slow breath into your belly and sides; think “inflate the belt” all the way around.
-
Lock in. Tighten just enough that your expansion meets resistance; you should still be able to take another breath.
-
Brace hard. Before the rep: inhale, expand 360°, squeeze your glutes lightly, and keep your ribs stacked over your pelvis.
-
Lift, then reset. Exhale gently on the way up or at lockout, re-brace before each rep.
-
Release between sets. With nylon, it’s easy to pop the closure open for comfort, then re-tighten when ready.
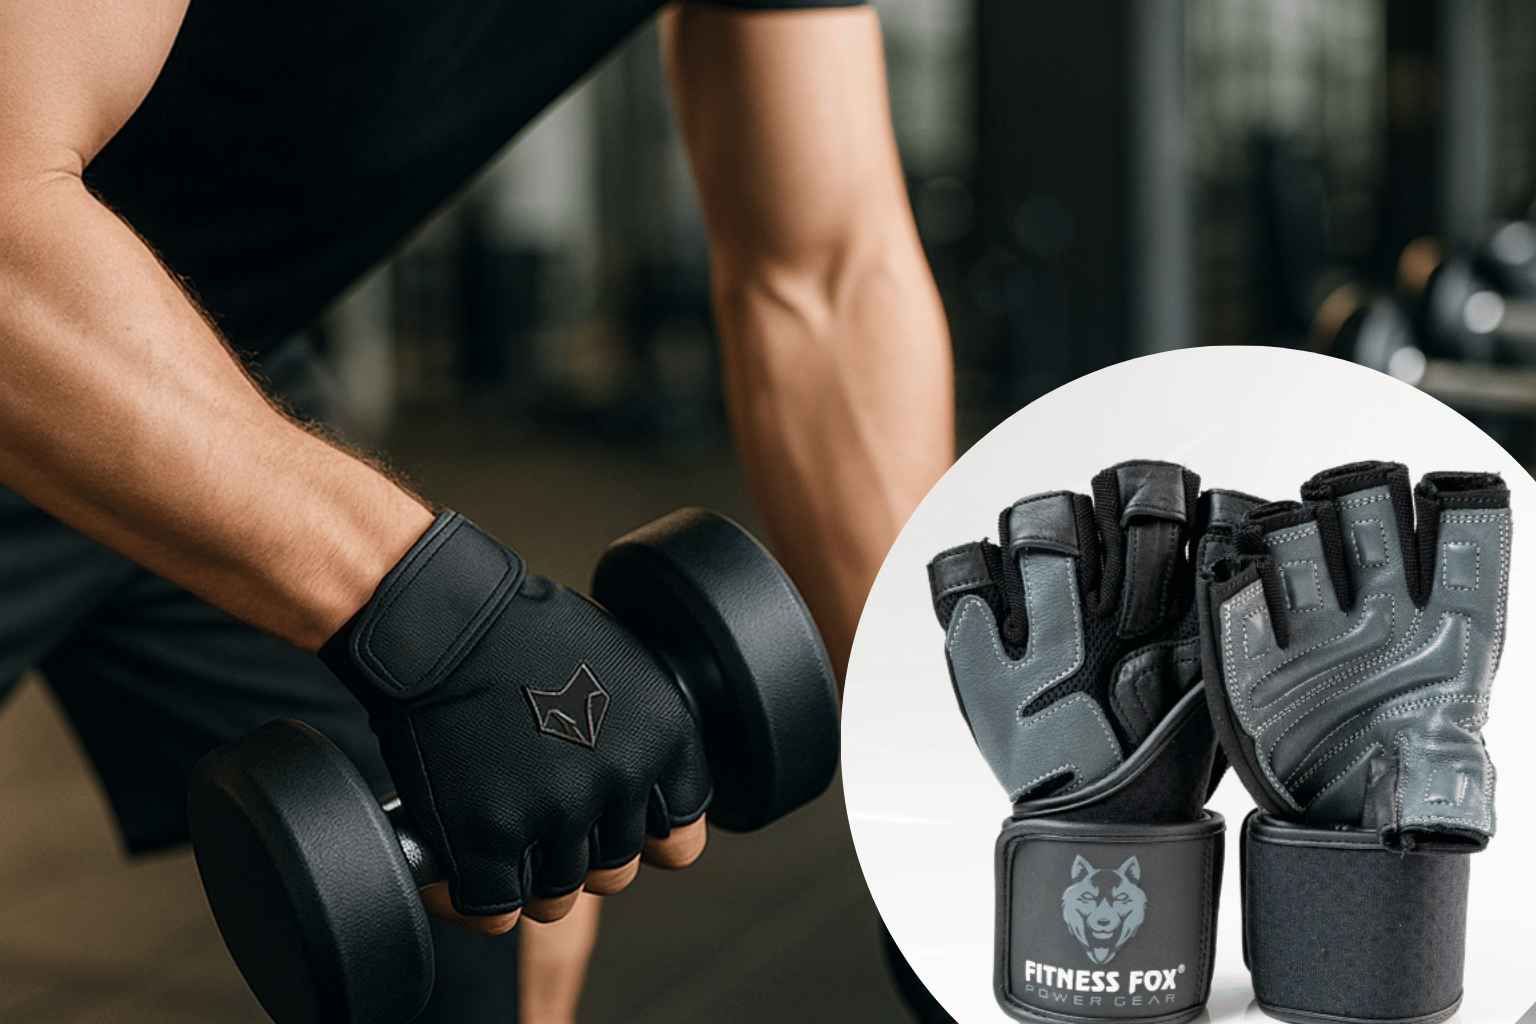
Read more: How to Clean Gym Gloves: Odor-Free in 10 Minutes | Fitness Fox
Belt height by lift (fine-tuning for comfort and power)
-
Back squat: many lifters prefer the belt slightly higher so the bottom edge doesn’t pinch the hip crease at depth.
-
Front squat & cleans: similar to back squat, but prioritize rib clearance in the rack position.
-
Deadlift: try the belt slightly lower than squat height so it doesn’t collide with your ribs when you hinge to the bar.
-
Overhead press & jerks: experiment; a touch higher can help you keep the ribs down while you drive overhead.
Small changes—even 1–2 cm—can make a big difference in comfort and bar path.
Read more: How Do You wear Gloves to the Gym

When to wear your belt (and when to skip it)
-
Wear it: on heavy or top sets, during fatigue-laden phases of a session, and anytime trunk rigidity limits performance.
-
Skip it: early warm-ups, technique primers, and some accessory work—keep your raw bracing honest and well-trained.
Think of your belt like lifting shoes: fantastic when you need them, optional when you don’t.
Common mistakes (and easy fixes)
-
Cranked too tight. If you can’t inhale and expand, you can’t brace. Loosen a notch.
-
Too loose. If it spins or gaps at the back, tighten slightly so you can push into it.
-
Wrong height. Rib jabbing or hip pinching? Nudge the belt up or down depending on the lift.
-
Breathing wrong. Chest-only breathing won’t create IAP. Practice belly/side expansion into the belt.
-
Using it for everything. Save it for sets that actually benefit; train the brace without it, too.
Read more: How to Use a Lever Weight Lifting Belt
Simple bracing drills you can do today
-
Wall-press breath: Stand with your back to a wall, belt on. Take a slow 3-second inhale and press your belly/sides/back into the belt evenly. Hold 1–2 seconds; exhale. Repeat for 5–6 breaths.
-
Belt taps: With the belt fastened, tap the front, sides, and back of the belt with your fingers. On each tap, direct your breath/expansion into that area. Builds a true 360° brace.
-
Countdown brace: Before a heavy set, breathe in and expand to a mental count of “3–2–1,” then lift. It standardizes your setup.
Care & maintenance (so your nylon belt lasts)
Nylon is tough, but sweat is relentless.
-
Air-dry open after training; don’t ball it up in your bag.
-
Wipe salt with a damp cloth; hand-wash occasionally with mild soap, cool water.
-
Mind the hook-and-loop: brush out lint so the closure keeps its bite.
-
Avoid high heat (radiators, dryers) that can degrade adhesives and fabrics.
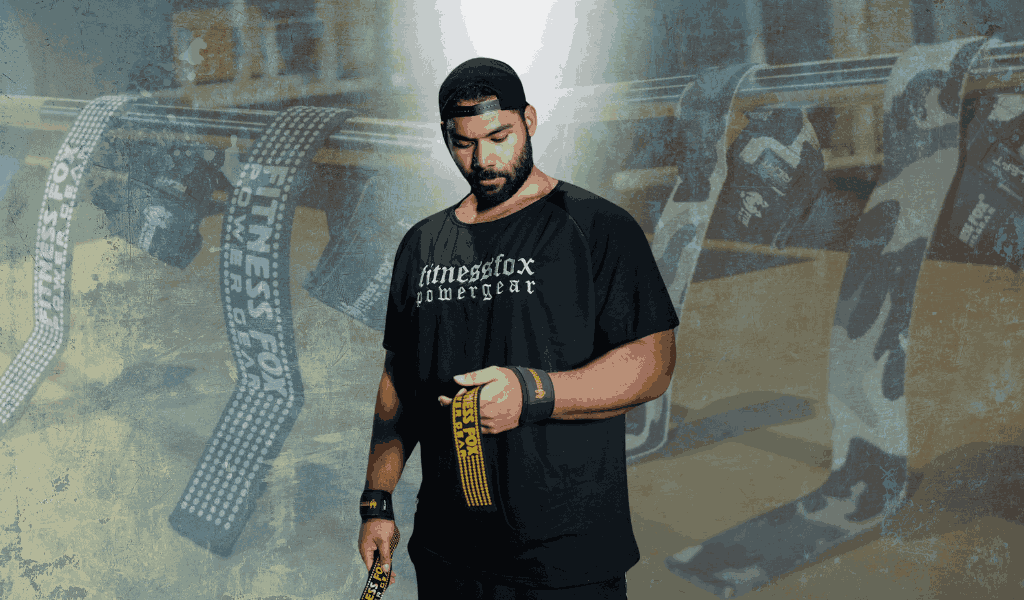
Read More: How to Use Wrist Wraps
Fitness Fox picks (choose the feel that fits your session)
We design our belts around performance, comfort, and speed—so you can lock in, lift, and move.
-
Quick-Locking Nylon Weightlifting Belt (Blackout Edition)
The everyday workhorse for mixed training. Flexible, highly adjustable, and rapid on/off between stations. Ideal for lifters who want one belt to do (almost) everything. -
5" Wide Neoprene/Nylon Belt — Double Back Support
A broader contact patch for extra tactile feedback and comfort on volume days. If you like more surface area to cue your brace, this is your “secure and cushy” upgrade. -
10 mm Triple-Ply Nylon-Neoprene Belt
A noticeably stiffer nylon feel for heavy barbell sets—more resistance to brace against, yet still quicker and comfier than many leather options.
Not sure which to pick? Start with Quick-Locking Nylon for versatility. If you later crave more surface area or stiffness, add the 5" Wide or Triple-Ply as your “heavy day” companion.
Sample training use cases (so you know when to clip in)
-
Strength day (Squat 5×5): warm-ups belt-less; fasten the belt for the last two warm-ups and all working sets.
-
Deadlift heavy singles: belt on for top singles; consider off for lighter back-off sets to train raw bracing.
-
Cross-training circuit: quick-lock on for the heavy barbell station, pop it open during bodyweight/conditioning pieces for comfort and breathing.
-
Overhead press cycle: belt on when reps get grindy to reinforce rib-down positioning and trunk stiffness.
FAQs
How tight should a nylon belt be?
-
Tight enough to give firm resistance when you breathe and push out, but not so tight you can’t expand your belly and sides.
Where exactly should it sit?
-
Typically above the hips and below the ribs with the buckle centered at the navel. Adjust up/down a little per lift and body shape.
Do I need it on every set?
-
No. Reserve it for the sets that challenge trunk stability—your heavy or top sets. Warm-ups are great without it.
Is nylon better than leather?
-
Neither is universally “better.” Nylon is lighter, more flexible, and quicker to adjust; leather is stiffer for maximum support. Choose by training style and comfort.
Will a belt fix back pain?
-
A belt is performance equipment, not medical care. If you have pain, consult a qualified professional and address technique and load management.
How to turn this guide into real progress (checklist)
-
Pick a belt model that matches your sessions (versatile quick-lock, wider back-support, or stiffer triple-ply).
-
Dial in fit at the navel; note a “warm-up notch” and a “heavy-set notch.”
-
Practice the 360° breath daily (5–6 slow reps), then carry it into your heavy lifts.
-
Keep a training note: when you belted up, how it felt, and what position worked best.
-
Maintain the belt (air-dry, wipe, lint-free hook-and-loop) so it performs set after set.
Final word from Fitness Fox
The belt is a force multiplier—for the lifter who knows how to use it. Master your brace, choose a nylon belt that fits your style, and make your heavy sets the strongest—and safest—sets of your week. If you’re unsure which Fitness Fox belt suits you best, start with our Quick-Locking Nylon and build from there.










Leave a comment